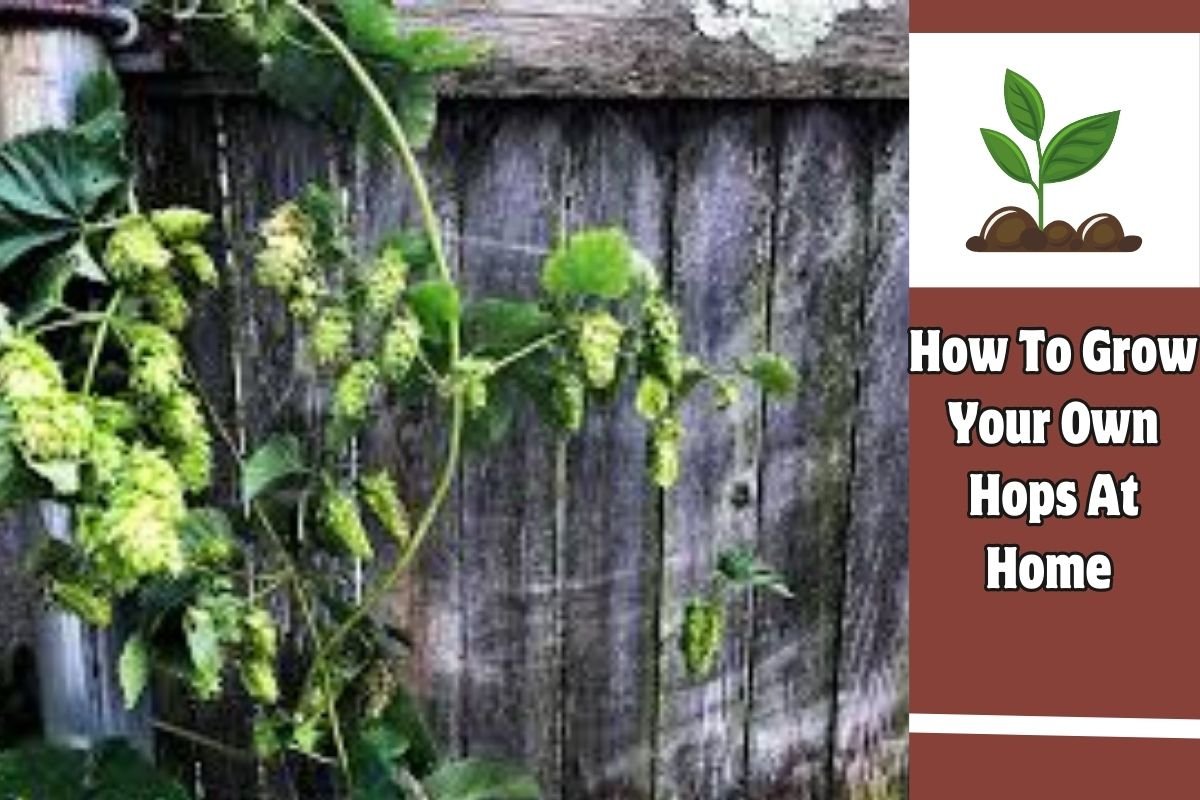
How To Grow Your Own Hops At Home :- The fragrant blooms of the Humulus lupulus plant, known as hops, are a crucial component in beer production as they impart flavor, aroma, and bitterness. Hops are often cultivated on big farms, but they may also be successfully grown in home gardens, giving aficionados the chance to create their own distinctive hop varieties. We’ll go over the procedures and factors to take into account when cultivating hops at home in this guide.
How To Grow Your Own Hops At Home
Selecting the Right Variety
Choose a hops variety that is appropriate for your climate and brewing style before you start your hops growing adventure. Cascade, Chinook, and Centennial are popular cultivars with unique flavor qualities.
When selecting the variety, take into account elements like the available space, sunshine exposure, and temperature.
Preparing the Site
For best growth, pick a sunny spot with well-drained soil. Hops need good air circulation and full sun to thrive and avoid disease.
To increase drainage and fertility, prepare the soil by tilling it and adding organic matter, such as compost or aged manure.
Planting
After there is no longer a chance of frost, plant hops in the early spring. The most popular means of propagation for hops plants are their underground stems, or rhizomes.
Dig a hole that is deep enough to hold the rhizome while making sure the buds point up. Rhizomes should be spaced three to five feet apart in order to allow for healthy development and expansion.
Thoroughly cover the rhizomes with soil and water. To keep the plants moist and prevent weed growth, mulch the area surrounding them.
ALSO SEE
Trellising
Hops need a strong support structure to grow vertically because they are strong climbers. Install a trellis structure made of wires or tall poles that are firmly fastened to the ground.
As the plant grows, train its climbing stems, or hop bines, to climb the trellis. Be cautious not to damage the bines as you carefully move them in a clockwise motion around the support framework.
Watering and Fertilizing
Hops need to be watered frequently, especially in arid weather. The soil should always be somewhat damp but not soggy.
To encourage rapid development, fertilize hops in the spring with a balanced fertilizer that is heavy in nitrogen. A surplus of nitrogen can cause excessive vegetative growth at the expense of cone production, therefore avoid overfertilizing.
Pruning and Training
To concentrate the plant’s energy on making hop cones, trim away any side shoots or lateral development during the growing season.
In order to prevent any extra growth from becoming knotted or congested, train the main bines to grow vertically along the trellis.
Harvesting
Hops can be harvested in late summer or early fall when the cones have a strong aroma and are papery to the touch. Depending on the variety and local environment, harvest times can change.
Pick the hop cones by hand with caution so as not to harm the nearby flora. Hops that are too mature can lose their flavor and potency, so don’t pick them too late.
Drying and Storage
Following harvesting, arrange the hop cones in a single layer on a screen or mesh drying rack in a place with good ventilation and protection from the sun.
To ensure that the hops dry evenly, let them dry gently and mix them every now and then. After the cones are completely dry and have a moisture level of approximately 10–12%, store them in airtight jars or vacuum-sealed bags.
Conclusion
For beer lovers, growing hops at home may be a fulfilling project that offers a hands-on experience from plant to pint. You may grow your own supply of fresh hops to enhance your homebrew creations by choosing the suitable variety, prepping the area, and adhering to recommended planting and care procedures. If you put in the necessary time and effort, you’ll soon be sipping on hop-infused beers that are a product of your own homegrown hops.


