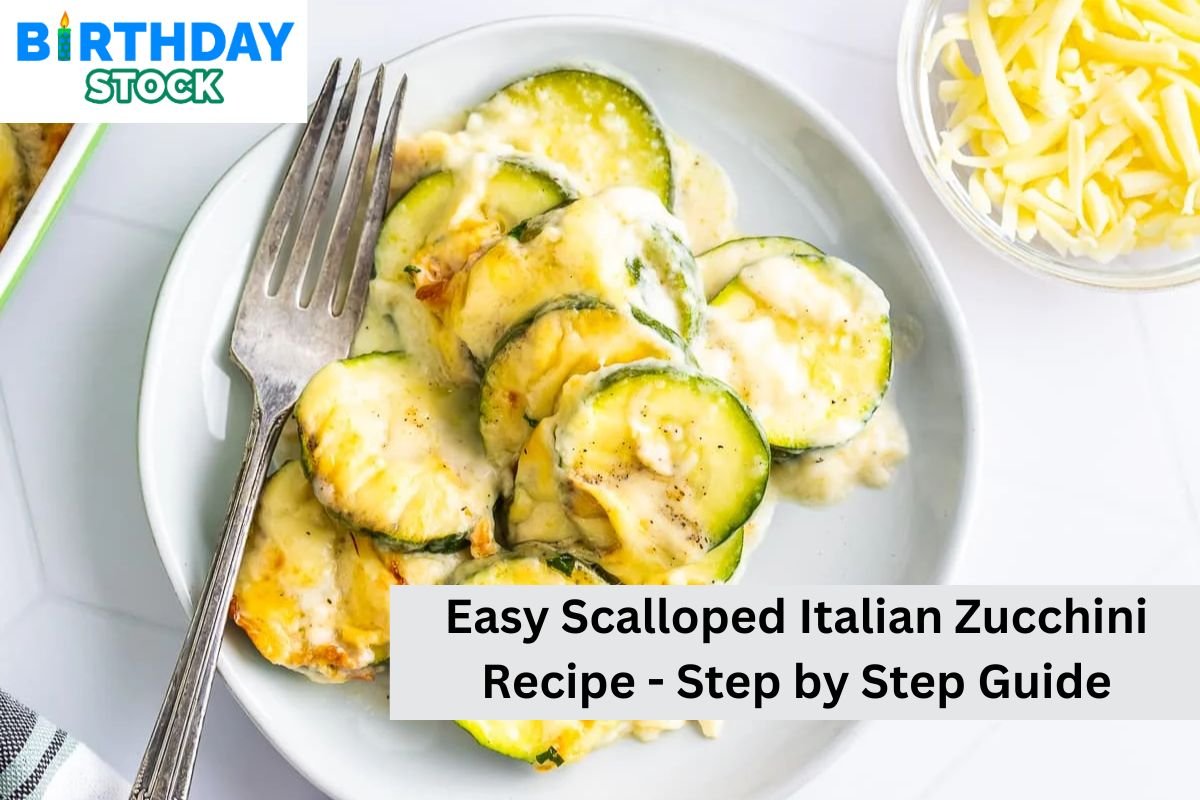
Easy Scalloped Italian Zucchini Recipe – Step by Step Guide:- Are you looking for a mouthwatering method to consume these zucchini? There is no need to look any further than this recipe for easy scalloped Italian zucchini! This recipe, which is not only easy to prepare but also bursting with flavour, is likely to become a favourite among the family.
Easy Scalloped Italian Zucchini Recipe – Step by Step Guide
Slices of zucchini that are tender are piled with cheese and Italian seasonings, and then the dish is cooked until it reaches perfection. Enjoying the wealth of summer in this way is a satisfying way to do it, regardless of whether you serve it as a side dish or as a light main course.
Ingredients
- 4 medium zucchini, thinly sliced
- 1 tablespoon olive oil
- 2 cloves garlic, minced
- 1 teaspoon Italian seasoning
- 1/2 teaspoon salt
- 1/4 teaspoon black pepper
- 1 cup shredded mozzarella cheese
- 1/4 cup grated Parmesan cheese
- Fresh basil leaves for garnish (optional)
Also see : Stuffed Tomatoes With Tuna Recipe – Learn with Experts
Instructions
Preheat your oven to 375 degrees Fahrenheit (190 degrees Celsius). The baking dish should be greased with either non-stick spray or olive oil. For optimal results, heat the olive oil in a big skillet over medium heat. Once the garlic has been minced, add it to the pan and saute it for one to two minutes.
The sliced zucchini should be added to the skillet, and then it should be seasoned with Italian seasoning, including salt and black pepper. Prepare the zucchini by cooking it for five to seven minutes, stirring it occasionally, until it is soft but not mushy. After the zucchini slices have been cooked, transfer half of them to the baking dish that has been prepared and spread them out evenly.
A portion of the shredded mozzarella and grated Parmesan cheese should be sprinkled on top of the layer of zucchini. The remaining zucchini pieces should be layered on top, and this should be topped with the remaining cheese. To ensure that the cheese is melted and bubbling, bake it in an oven that has been warmed for fifteen to twenty minutes. It is recommended that fresh basil leaves be used as a garnish before serving.
Nutrition
- Serving size: 1/4 of the recipe
- Calories: 160
- Total Fat: 10 g
- Saturated Fat: 4 g
- Cholesterol: 20 mg
- Sodium: 450 mg
- Total Carbohydrates: 8 g
- Dietary Fiber: 2 g
- Sugars: 5 g
- Protein: 10 g
Tips
Use a mandoline slicer to ensure that the zucchini is cut into uniform slices so that it cooks equally. This will ensure that the zucchini is cooked properly.
At this point, it is totally up to you to modify the seasonings so that they are more to your liking. A dash of spice can be achieved by adding some crushed red pepper flakes, and an additional layer of flavour can be achieved by adding fresh herbs that have been chopped beforehand.
Following the completion of the baking process, place the dish under the broiler for a few minutes, allowing the cheese to get slightly browned. Through this process, the topping will acquire a stunning brown hue. You may convert this dish into a complete dinner by serving it with grilled chicken or fish. This will allow you to accomplish your goal.
FAQ
Q.1) Can I use other types of cheese?
Unquestionably! Feel free to experiment with several kinds of cheese, such as cheddar, fontina, or provolone, in order to find the cheese that best suits your preferences in terms of flavour.
Q.2) Can I prepare this dish ahead of time?
There is no problem with putting together the dish up to a day in advance and storing it in the refrigerator until you are ready to bake it. Ensure that it is tightly wrapped in aluminium foil before placing it in the refrigerator.
Q.3) Can I freeze leftovers?
In spite of the fact that this meal is best served when it is still fresh, any leftovers can be frozen in an airtight container for up to two to three months. In order to serve, reheat the dish in the oven until it is completely warm.


