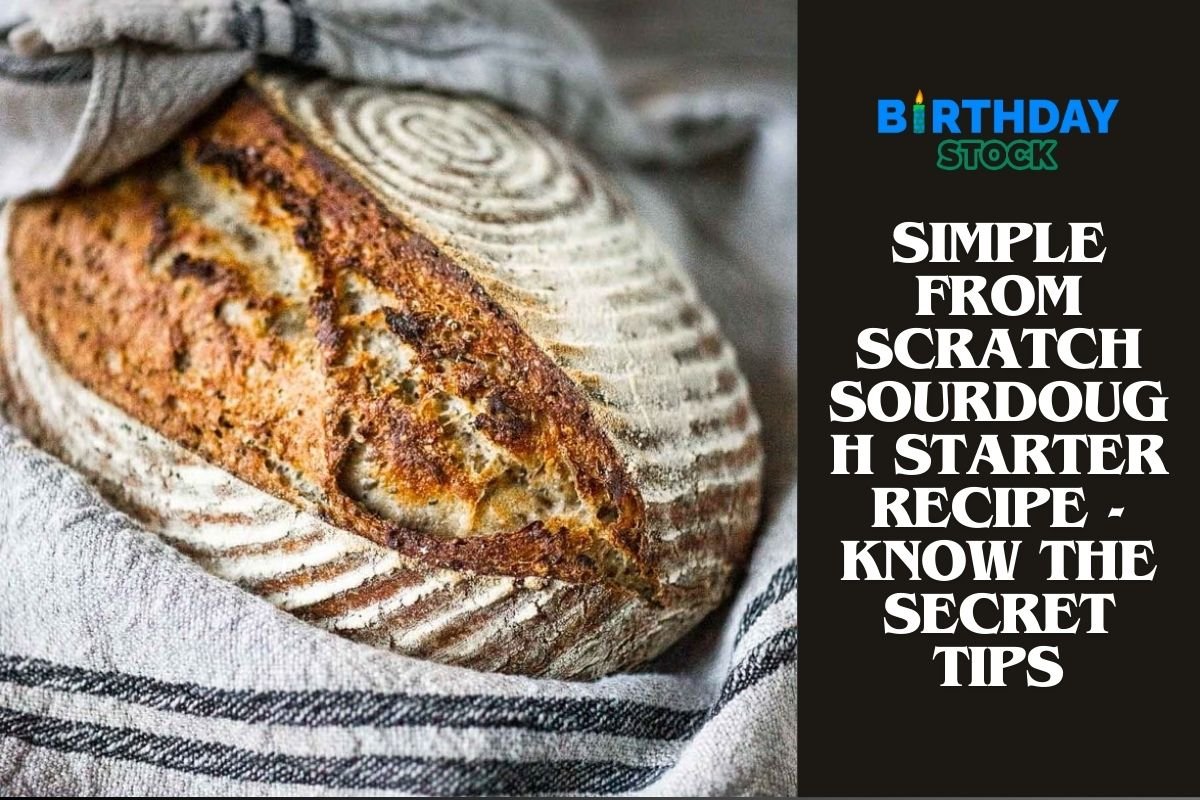
Simple From Scratch Sourdough Starter Recipe – Know the Secret Tips: Looking to bake incredible sourdough bread? First: you’ll need a sourdough starter. Without it, your bread won’t rise. It’s the absolute heart and soul of sourdough baking. Creating one from scratch is not hard to do.
Simple From Scratch Sourdough Starter Recipe – Know the Secret Tips
However, the process can seem intimidating (especially for beginners). Let’s change that. Adapted from my bestselling book Artisan Sourdough Made Simple, I will demystify and simplify the process with step-by-step instructions.
Ingredients
- 1x (5lb) bag all purpose flour or bread flour (I use either KAF, Trader Joe’s, or Whole Foods)
- 1/2 cup (60g) whole wheat flour (I use KAF whole wheat)
- Water (preferably warm around 85F )

Instructions
Before you get started: Put in place a regular feeding routine. That is to say, you should feed your starter at the same time every single day. Sourdough starters adore consistency, which will be established as a result of this. Whenever you get up in the morning, you might want to think about feeding your starting.
On the first day, take a big jar and combine sixty grammes (one-half cup) of whole wheat flour with sixty grammes (one-fourth cup) of warm water. The consistency will be thick and paste-like, and you should mix it with a fork until it is smooth. If you are measuring by volume, you may need to add additional water in order to slightly thin out the consistency.

Put it in a warm place, between 75 and 80 degrees Fahrenheit, for twenty-four hours, and cover it with plastic wrap, wax wrap that can be reused, or a lid. Temperature is a significant factor. Are you looking for a warm place to sit?
After turning off the oven, place your starter on a cookie sheet and place it inside the oven with the light on for at least an hour (it can get very hot inside the oven, so make sure you keep an eye on it!). The best rack is the centre rack. A proofing box that has been preheated to the temperature you want can also be used, as can a microwave with the door slightly ajar and the light turned on.

On the second day, examine the surface to determine whether or not any bubbles have formed. It is not a problem if you do not observe anything. There is a possibility that the bubbles developed and then disappeared while you were asleep on the previous night. There is nothing additional that you need to do at this time. Remain the starter for an additional twenty-four hours.
It is possible that a dark liquid will form on the surface of the culture as well as throughout the culture itself not only during the process of creating your starter but also after it has been created. It has an extremely offensive odour, which is comparable to that of rubbing alcohol or gym socks.
The presence of this liquid, which is referred to as “hooch,” is a sign that your beginning needs to be taken in. It is not unusual. The best course of action is to eliminate this liquid together with any starter that has become discoloured whenever you come across it. Nevertheless, on Day 2, you should just leave the hooch alone. You will be able to remove it the following day, when you begin the feedings.
At the end of the third day, take out approximately half of your starter from the jar and throw it away. You should have sixty grammes remaining. A extremely elastic texture is going to be produced. In the jar, combine sixty grammes (one-half cup) of all-purpose flour and sixty grammes (one-fourth cup) of warm water.
To achieve a smooth consistency, mix with a fork. At this point, the consistency ought to be comparable to that of thick pancake batter or straightforward yoghurt. For another twenty-four hours, cover and allow the item to rest in the warm spot. Continue feeding your starter on days 4, 5, and 6 by removing and discarding approximately half of it and adding 60 grammes of flour and 60 grammes of warm water each day.
You will see that your starter is rising and that bubbles are forming on the surface of the culture as well as throughout the culture as the yeast begins to develop. When the beginning begins to fall, it is time to give it another feeding. It is recommended that you wrap the jar with a piece of masking tape or a rubber band in order to measure the growth of the starting as it rises.
On the seventh day, your starter ought to have doubled in size by this point. Many bubbles, both large and small, should be visible to you at this point. The texture will be spongy and fluffy, and it will be comparable to roasted marshmallows (think of s’mores). It should have a pleasant aroma, and not smell like gym socks; it should be pleasant. In the event that these demands are satisfied, your starter is now operational and ready to be utilised.
Please keep in mind that if your starter is not ready at this stage, which is rather common due to temperature concerns (too cold), timing, and other things, you should continue feeding it for at least one to two weeks. Take your time! The very last thing you need to do is move your starting into a jar that has been nicely cleaned. It is also possible for you to give it a name, and I would appreciate it if you did so. Dillon is the name of my starter, which is named after my oldest son.
Nutrition
- Serving: 1 sourdough starter
- Calories: 1kcal