Dairy-Free Chocolate Ice Cream Recipe:- The creation of a vegan chocolate ice cream that is both rich and creamy has been a goal of mine, and I was nearly completely stumped by it.
My initial attempt did not have enough of a dark chocolate flavorful depth.
Despite being closer, my second attempt did not have the desired creaminess.
My third attempt, if you will? Unquestionably the victor.

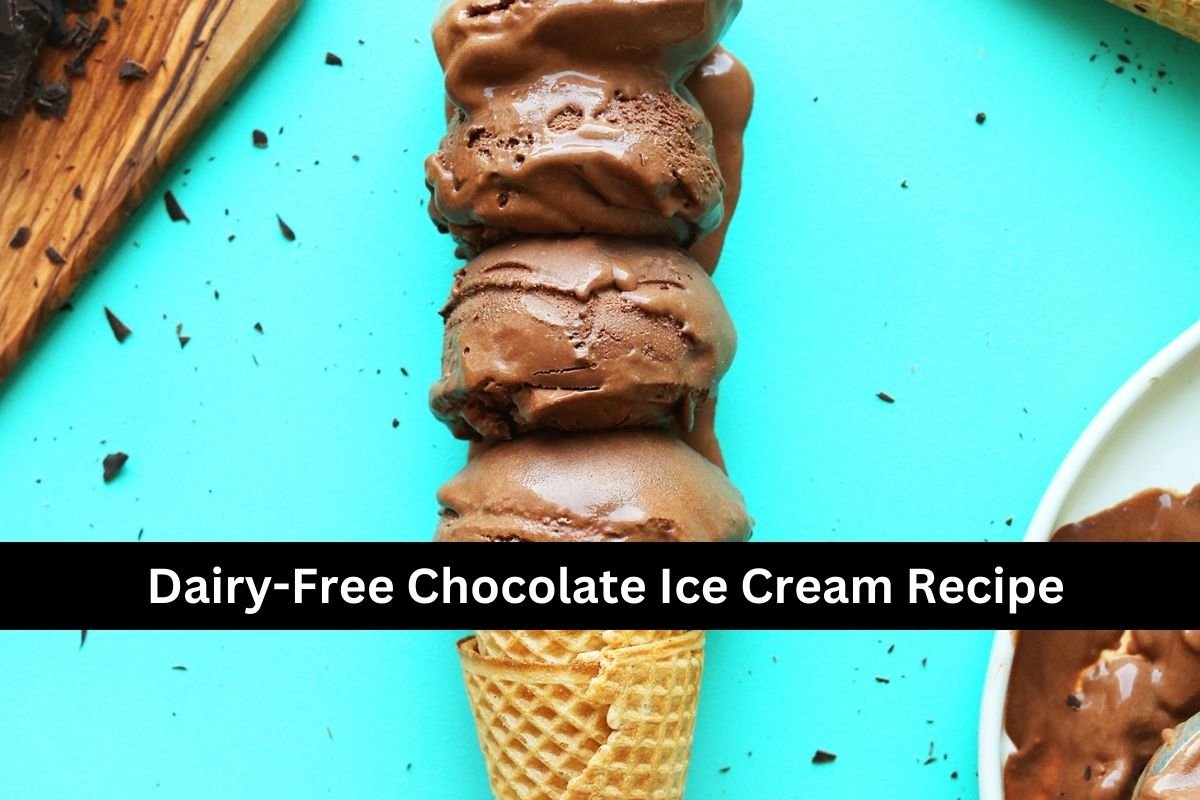
A chocolate flavour that is in between ice cream and gelato, with a creamy and unbelievably rich chocolate flavour. Children, get your ice cream maker ready. We are going to do this.
Dairy-Free Chocolate Ice Cream Recipe


Only six ingredients and straightforward preparation are required for this recipe. You will be able to master this simple recipe if you are able to whisk, combine, and pour the ingredients into an ice cream machine.

The foundation is made up of things like water, cocoa powder, rich coconut cream, and organic cane sugar, all of which are mixed together with a whisk. Then comes the flavour of rich chocolate, which is derived from a high quantity of vegan dark chocolate.
The final component is vanilla extract, which not only improves the flavour but also helps prevent the formation of ice crystals due to the percentage of alcohol present. Now all you need to do is combine, cool, and be patient while you wait for it to be time to churn.
This ice cream is incredibly smooth and has a flavour that is incredibly deep and rich in chocolate. That craving I had for chocolate ice cream, which I used to enjoy while I was consuming dairy products, was satiated by it.
This will be the ideal treat to keep on hand during the summer months, whether you plan on snacking on it or hosting guests. Fresh strawberries and coconut whipped cream are two accompaniments that I strongly suggest serving with this dish. Moreover, what happens if an uncooked brownie accidentally falls into the bowl? To be happy.

Let us know if you decide to give this dish a try! Please leave a comment, give it a rating, and don’t forget to post a picture on Instagram with the hashtag #minimalistbaker so that we can see what you come up with. Friends, cheers to you!
Ingredients
- 3/4 cup water
- 1 1/4 cups lite coconut milk
- 2/3 cup organic cane sugar*
- 2/3 cup unsweetened cocoa powder
- 1/4 tsp sea salt
- 6 ounces vegan dark chocolate (finely chopped // ~1 cup chopped per 6 ounces)
- 1/2 tsp pure vanilla extract
Instructions
- The day before, add your ice cream churning bowl* to the freezer to properly chill.
-
The same day, prepare your base. Add the water, coconut milk, cane sugar, cocoa powder, and salt to a large saucepan and whisk to combine. Bring to a low boil over medium-high heat, whisking frequently. Once it reaches a low boil, continue cooking and whisking for 1 minute.
-
Remove from the heat and add the chocolate and vanilla. Whisk until melted.
-
Then transfer to a mixing bowl and chill in the fridge for 2 hours or until room temperature or cooler. Optional: To remove any graininess, add to a blender and blend for 30 seconds on high.
-
Add your chilled base to the ice cream maker and churn according to the manufacturer’s instructions – about 30 minutes or until it looks like soft serve (see photo).
-
Enjoy as soft serve, or transfer to a parchment-lined dish or loaf pan, cover securely, and freeze for 4-6 hours, or until firm.
-
Let thaw 10-15 minutes before serving to soften. Use a hop scoop to ease scooping. Enjoy within 7-10 days. This is excellent with ripe strawberries and coconut whipped cream!
Notes
You can still create this ice cream even if you do not have an ice cream maker, but the texture will not be as smooth as it would be otherwise. Once you have completed the instructions up until the point where it begins to churn, transfer it to a mixing bowl or loaf pan and cover it with aluminium foil. For a total of eight hours, place the mixture in the freezer. After each hour, remove it from the freezer and whisk or stir it to integrate air and avoid the formation of ice crystals.
Nutrition (1 of 9 servings)